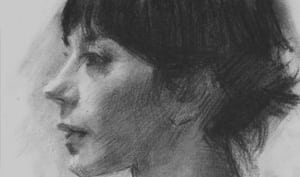
How To Paint a Portrait in Oils Portrait of Lisa
How to Paint a Portrait in Oils
Learn how to paint a portrait in oils through our comprehensive video tutorial series, adapted from the final term of the Portrait Painting Course taught at the Academy. These step-by-step lessons are rooted in the classical tradition of oil portraiture, guiding you through the entire process—from the initial block-in to the final finishing touches.
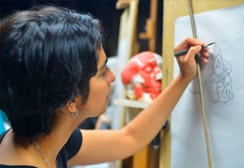
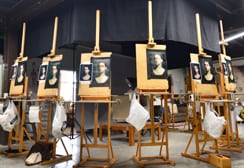
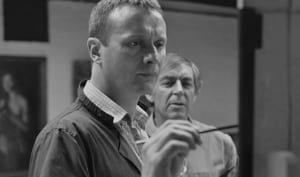
In a typical class, instructor Louis demonstrates each stage of the portrait painting process live. As he works directly on the canvas, he explains his approach and thought process in real time. Students follow along with their own paintings, receiving one-on-one feedback, corrections, and support to help refine their technique.
Study Portrait Painting Online or In Person
You can study portrait painting in oils through our Part-Time Portrait Painting Course, offered both as a Virtual Online Class and an in-person course at the Academy. Both formats provide a structured, hands-on learning experience, combining live demonstrations with expert guidance and individual critiques.
What You’ll Learn in This Portrait Painting Course:
• How to paint a portrait in oils using classical techniques
• Accurate drawing, measurement methods, and facial proportions
• Understanding tonal values, scales, and light-shadow relationships
• Colour theory and how it applies specifically to portrait painting
• Mixing realistic flesh tones and capturing subtle facial expressions
These oil painting tutorials are perfect for artists at any stage of their practice—whether you’re just starting out or seeking to elevate your portrait work to a new level. With the flexibility to study at your own pace, and the benefit of personalized instruction, you’ll gain the confidence and skill to bring your portraits to life.
Learn more about our Portrait Painting Course Overview
Explore our Virtual Online Classes and study from anywhere in the world
Steps Covered


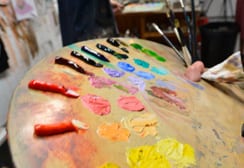
Organising the Paint Palette
Organize your palette before painting for smoother mixing and better results. Lay out colours from warm to cool, light to dark—starting with yellow on the left. Create tonal strings by mixing each colour with white. A white palette helps reveal subtle shifts in tone and colour.


Step 2: Blocking in the Darks and Areas of Colour
Block in darks, large colour areas, and shadows to build structure. Start with the darkest values using thin, transparent paint. Group shadows simply and feather edges. Use big brushes to block in colour, focus on tone relationships, and control edges for soft transitions before refining.

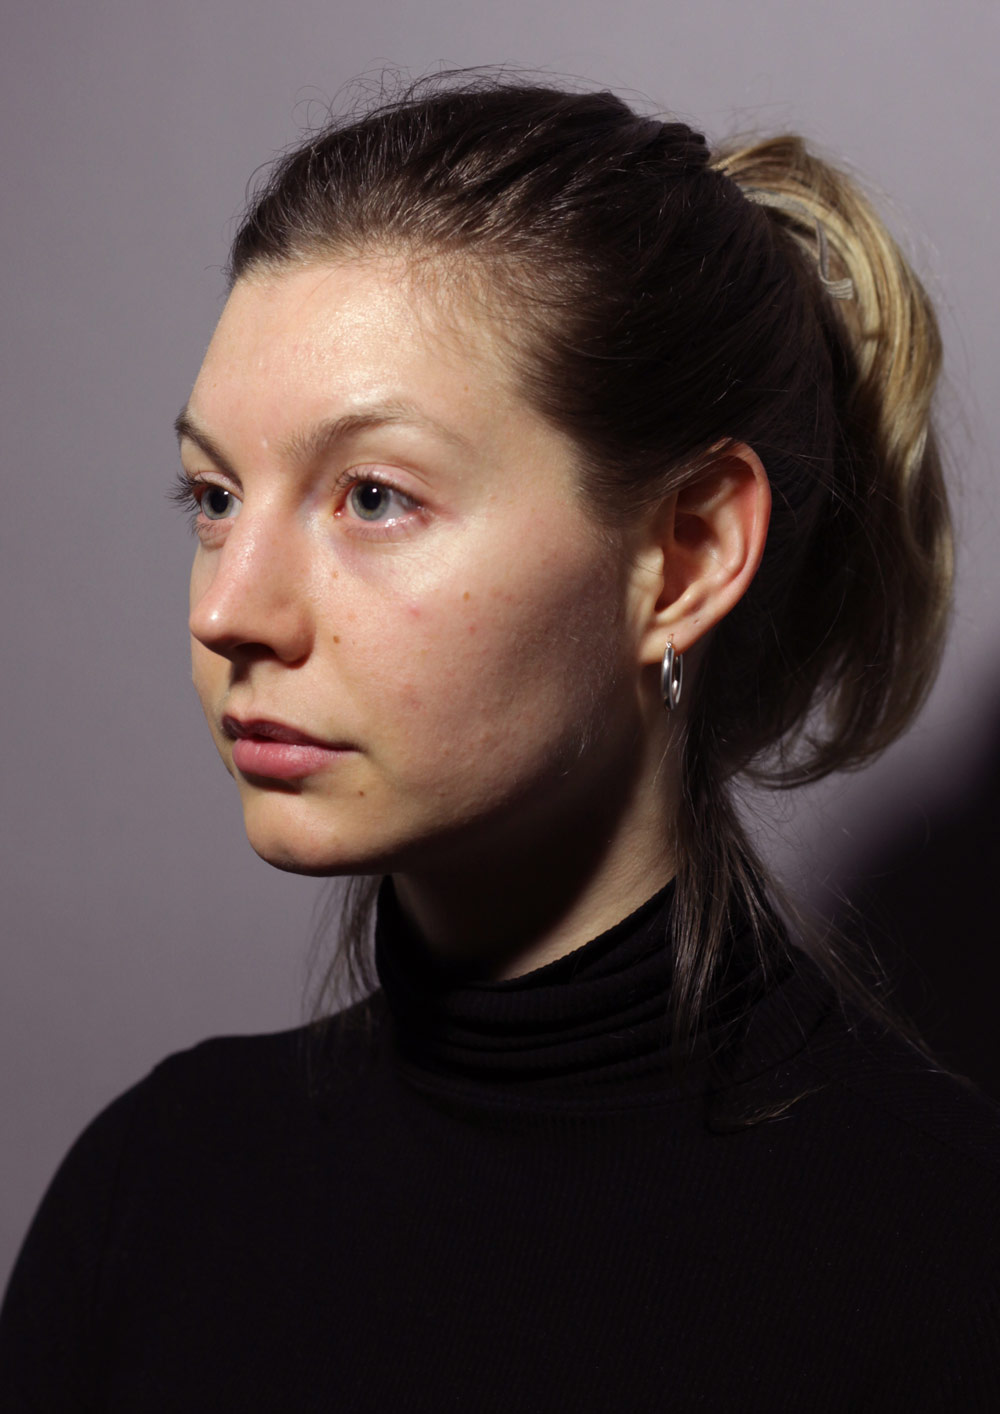
Step 3: Shadows of the Facial Features
Refine facial feature shadows to enhance realism. Separate form shadows (soft transitions) from cast shadows (darker, sharper edges). Use high-chroma colours in key shadow areas to balance the painting. Focus on edge control and keep shadow shapes unified, warm, and natural.

Step 4: Big Form Modelling of the Face
Model the face and neck as simple forms to create a strong sense of depth. Visualize the face as an egg shape and divide it into front and side planes. Group colours and tones by plane, focusing on light transitions and avoiding early blending to maintain three-dimensional structure.

Step 5: Eyes, Nose, Mouth, and Ear Shapes
Define the facial features by blocking in the base colour and tone of the eyes, nose, mouth, and ears. Focus on broad colour relationships before refining detail. This approach builds natural colour harmony and preserves structure, setting the stage for realistic, lifelike features.

Step 6: Planes of the Face and Features
Break down facial features into front, side, top, and bottom planes to build strong three-dimensional form. This method helps you understand how light hits each surface. Using tools like the Asaro head trains your eye to see structure of the face and features more clearly.

Step 7: Painting the Eye, Near Side of the Face
Refine the eye by understanding its structure, light logic, and edges. Model the brow ridge, eyelids, and socket with subtle transitions. Use a balance of soft and sharp edges to create depth, realism, and focus. Shape the iris and highlights carefully to capture a lifelike gaze.

Step 8: Painting the Nose
Refine the nose by breaking it into front, side, and bottom planes, each with subtle anatomical forms. Focus on light, shadow, and colour temperature to model its structure. Use soft edges and tonal transitions for realism, making the nose feel natural and integrated into the face.

Step 9: Painting the Eye, Far Side
When painting the right eye in three-quarter view, avoid making it match the left. It appears smaller and less detailed due to foreshortening and perspective. Focus on accurate placement, proportion, and soft edges. Trust your observation for a natural, lifelike result.

Step 10: Painting the Lips
Refine the lips by breaking them into top, front, and bottom planes. Model features like the Cupid’s Bow, tubercle, and commissures with soft transitions and accurate tones. Focus on colour temperature shifts, light placement, and subtle edges to create natural looking lips.

Step 11: Painting the Ear
Simplify the ear into major planes—helix, antihelix, concha, tragus, and lobe—to better manage light and shadow. Use soft edges, warm and cool tones, and subtle highlights to model form naturally. While secondary, a well-painted ear supports realism and depth in your portrait.

Step 12: Painting the Neck
Refine the neck by simplifying it into front, side, and bottom planes. Use soft transitions, cooler tones, and subtle shadows to support the head without drawing focus. Define key muscles like the SCM and trapezius, and integrate edges naturally for a balanced, lifelike portrait.
Step 13: Painting the Chin
Refine the chin by simplifying it into front, side, and bottom planes. Model subtle transitions in tone and structure to anchor the lower face. Use soft edges, adjust colour temperature, and integrate the chin naturally into the jaw and lips for a solid, harmonious finish.

Step 14: Painting the Hair
Finish the portrait by refining the hair as masses of light, midtone, and shadow—not individual strands. Focus on form, flow, and edge control. Use soft transitions at the hairline, directional highlights, and subtle colour shifts to create natural, structured, and believable hair.